Labs
September 18, 2020
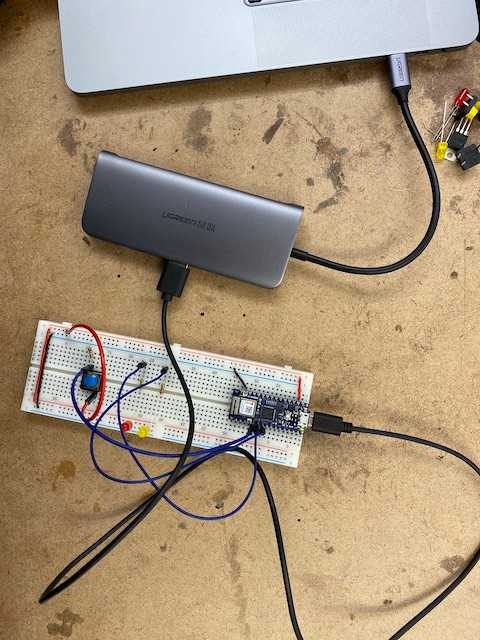
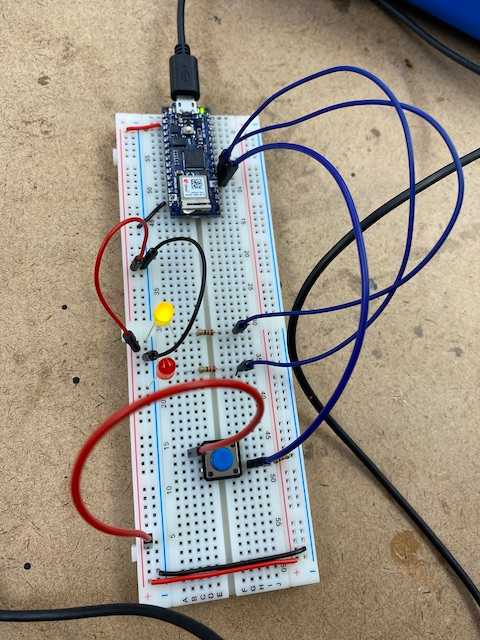
I enjoyed this weeks labs. I spent a lot of time going through all the reading materials and particularly enjoyed reading about how different variable types are stored in memory. There was a lot of time spent troubleshooting. I forgot for the second week in a row that the power rails on my breadboard are not connected all the way along. There is a small gap in the middle between the top and bottom halves. Viola was able to diagnose the problem by running a few continuity tests on my circuit with the multimeter.
Finally solved it and was reminded of the importance of trouble shooting the most basic possibilities first.
Before that we had been investigating the code not uploading properly. This was also an issue but seemed to solve itself after sometime. The port was not being recognized in the Arduino IDE. Tom Igoe dropped by to lend a hand and it seemed that the cable was a bit unreliable. A solution we found for the port not being located (it was happening on both my Arduino and Viola’s and also with each of our computers) was to restart the Arduino IDE while having the Arduino plugged in. However after each successful code upload the port would again be lost within the Arduino IDE.
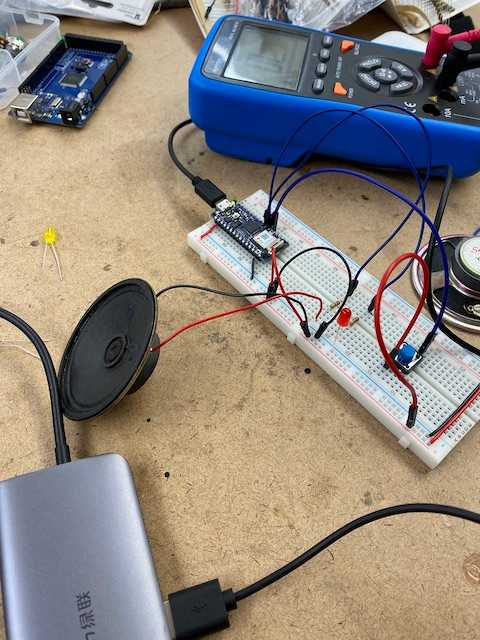
Here I wired up the circuit with the speaker. It wasn’t working at first and only started working once I unplugged the LED. Maybe the speaker required more current? I later wired it up with the potentiometer but the output was very temperamental and the code from the lab didn’t work for me. Instead of selecting pitches based on the potentiometer reading it was only outputting 2 pitches. I set the code to output the potentiometer value through serial.print() and could see that the readings were coming through properly. I even tried to play simple tones in the same way I had done earlier and I couldn’t get it to work. Wasn’t able to find the solution here.
I put 5 years of sonic arts education to work in the following two sound works for 8 Ohm speaker.
Here is the code. It repeatedly randomizes the note pitch playing each note for 60ms and then passing 120ms of silence.
void setup() {
  Serial.begin(9600);
  pinMode(3, OUTPUT);   // set the yellow LED pin to be an output
}

void loop() {
   Serial.println("This is a nice piece of music");
   tone(3, 110 * random(1, 6));    // turn on the first speaker to 440 Hz
   delay(60);
   noTone(3);
   delay(120);
}
Here is an LED being controlled by a potentiometer for good measure.
Written by David Currie, a current student at NYU ITP. Follow me on Twitter


